How to Clean Your Kitchen’s Trouble Spots
What’s the most difficult room to clean in your house?
Well, if you’re like 58% of Americans in this Survey, the answer is … the kitchen. While the bathroom may likely be the winner when it comes to grossest room to clean, the size and complexity of a kitchen – appliances, sinks, floors, cabinets and more – means we often neglect or delay the tougher kitchen clean-up jobs. Not everything is as simple as loading the dishwasher.
But it must – and can – be done to ensure your house is shipshape and to keep bacteria and other health-impacting issues at bay. Here are some guidelines for properly tackling some of the toughest – and frequently overlooked – areas to keep your kitchen clean.

It may seem counterintuitive, considering all the water and soap used in your kitchen sink every day, but it gets plenty of caked on dirt, grime and bacteria from all the grease and food particles dumped into it. Plus, you’re touching the faucet time after time, with food-encrusted hands, leaving lots of gunk on that essential device, too.
Time for a deep clean? Here goes:
- Clear all dishes, glasses, pots/pans and utensils from the sink
- Rinse it thoroughly with hot water, and a dollop of dish soap
- Shake out and scatter baking soda all over the sink bottom and sides
- Use a soft sponge or brush to gently scrub all around the basin, paying special attention to indentations, tough-to-clean spots and the area around the drain
- Spray the entire area, lightly, with white vinegar – and enjoy watching the liquid interact with the baking soda to form a bubbly delight
- Rinse the area again, with hot water
- Pat the area dry with paper towels
Also, the kitchen faucet head – especially if fitted with a spray aerator – can get clogged over time due to a build-up of minerals and hard water. To give it a much-needed cleansing, you don’t have to go full-on plumber and remove it from its fitting. Here’s a great tip from Family Handyman:
- Pour white vinegar into a quart-sized plastic bag until it’s half-filled
- Position the bag so that the faucet head is submerged in the liquid; then, secure the top of the bag to the faucet head/arm using a strong rubber band
- Wait 1 hour
- Remove the bag from the faucet head
- Lightly scrub the bottom of the head, where the water comes out, with a toothbrush or soft sponge
- Turn on the water and left it run through the faucet head for several seconds

Kitchen cabinets and drawers can get pretty grimy, too, thanks to splatters from the stove and being touched over and over by dirty, sticky fingers. Over time, they’ll lose their luster, so give them a thorough cleaning on a regular basis – that includes the insides and tops of the cabinets/drawers, not just the doors or facings.
- First, the hard part – remove everything from the cabinet/drawer and place the items, out of the way, on a kitchen counter
- Dust, wipe and/or vacuum away any crumbs, dust or dirt
- Use a gentle cleaner, so as not to damage the finish of your wood, vinyl, laminate or metal surfaces – you can’t go wrong with a mixture of hot water, a small amount of white vinegar and a few squirts of mild dish soap, in a spray bottle
- Start at the top and work your way down, and go back to front within each shelf/drawer
- Spray the mixture onto the surface and lightly rub away the dirt using a soft sponge, microfiber cloth or paper towel
- Use a dry cloth/paper towel to wipe away any remaining moisture
- Don’t forget the hardware, whether metal or ceramic. Use a soft cloth to wipe them clean.
- Put the items back in the cabinet/drawer, wiping them clean before you do so

Perhaps the greasiest and grimiest place in your kitchen is your stove top. And that means it can be a breeding ground for bacteria. So, give it a good cleaning – when it’s cooled off, of course – as often as possible. Here’s how:
- If the stovetop isn’t too dirty, take a microfiber cloth or a sturdy paper towel, dampen it with hot water, and scrub away. If some stains and caked-on gunk remain stubbornly affixed to the stovetop, repeat the process, this time adding in a bit of dishwashing liquid.
- If the stovetop is embarrassed-to-show-it-to-guests dirty, it’s time for a different concoction. Create a paste, combining 1 teaspoon of water with ¾ cup of baking soda. Use a fresh paper towel or cloth, and dip it into the paste. Rub the paste onto the stovetop; then, remove it using another damp cloth/paper towel. Finally, remove all remaining paste with a dry cloth/paper towel.
To get the job done right, you’ll need to use the right cleaning supplies. That includes such items as:
- Mild dish soap
- Dishwashing liquid
- White vinegar
- Baking soda
- Soft sponge
- Toothbrush
- Microfiber cloths
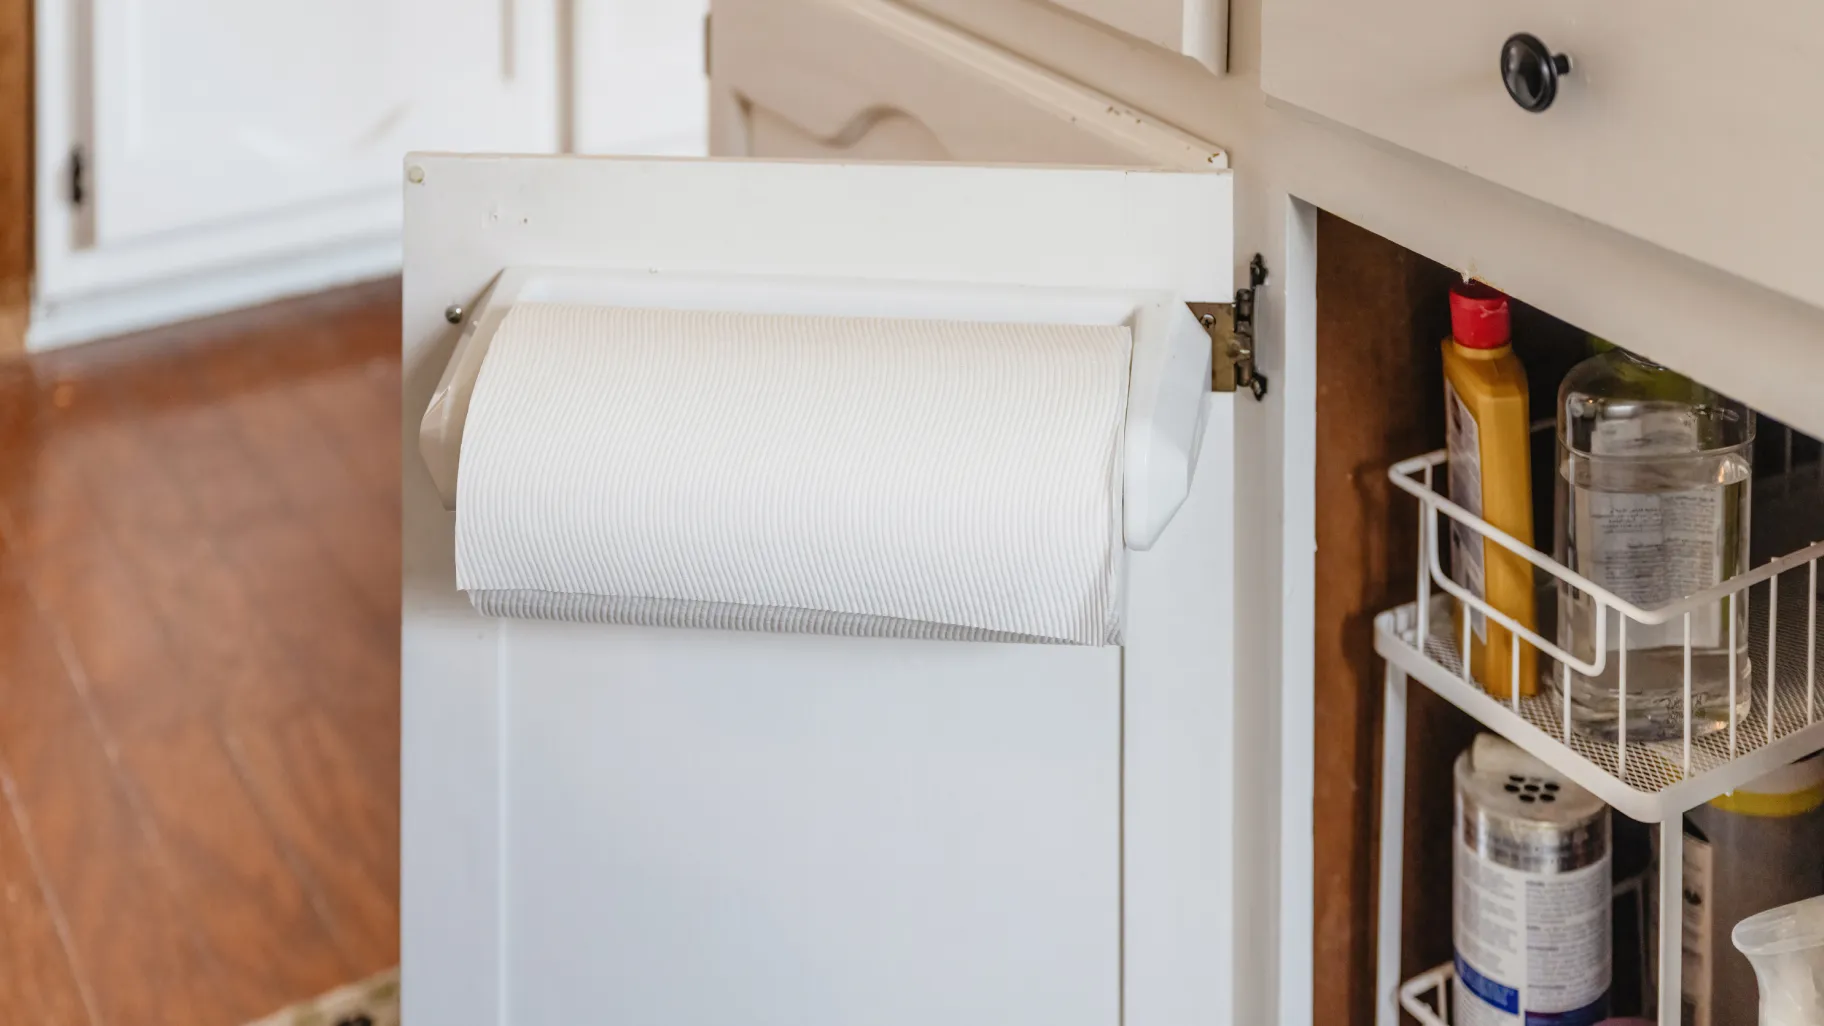
- Paper towels – which at Scott happens to be our area of expertise so try our Scott Paper Towels. They offer a trusted combination of value and strength to help with the simple, efficient clean you are looking for Responsibly sourced, they’re made from a combination of soft and hardwood pulp fibers and water, making for a quick-absorbing towel that locks liquid fast to get the job done – so you can get back to doing the things you love.
Do you have any tips or tricks for cleaning your kitchen sink and faucet, cabinets and drawers, and stove top? Please build on the ideas we’ve listed, or share your own, via social media channels. Remember to use the tag #KeepLifeRolling.


